Step-by-Step Guide to Install IPTV Downloader on Windows (Free + Premium)
I Thought It’d Be Simple… It Wasn’t
I Thought It’d Be Simple… But Installing IPTV on Windows Isn’t Always Plug-and-Play
When I first decided to install IPTV Downloader on Windows, I assumed it would be as easy as downloading a media player. One quick install, maybe enter a playlist, and boom — I’d be flipping through channels in no time. Yeah… not even close.
It took me multiple tries, a few sketchy downloads, and more than one failed setup before I found what actually works. Half the trouble wasn’t even the apps—it was figuring out the right way to install and configure them without running into bugs or constant buffering.
If you’re aiming for a smooth experience (no freezing, no lag, just clean streaming), then you’ve got to take setup seriously. Whether you’re testing IPTV Smarters, TiviMate, or even VLC, it’s not just about having the app. It’s about how you install it, and how you handle the details after launch.
So if you’re about to install IPTV Downloader on Windows for the first time, I’ve been through it—and I’ll walk you through what actually works. Oh, and if you’re still bouncing between services, this subscription page saved me hours of trial and error.
I Didn’t Know What to Expect with IPTV on Windows — But Here’s What Actually Matters
When I decided to install IPTV Downloader on Windows, I genuinely didn’t know what I was getting into. I assumed it’d either be some clunky mess full of pop-ups, or something that crashes every ten minutes. Honestly, I almost gave up after trying a few sketchy apps that barely worked.
But once I figured out the right tools, everything changed. The good apps—like IPTV Smarters or TiviMate—felt like I was using a legit cable service. Clean interface, fast channel switching, and none of the chaos I expected.
Here’s the truth no one tells you: when you install IPTV Downloader on Windows, the app is just part of the puzzle. The rest depends on the quality of your stream source, your internet connection, and how you configure things. You can’t just download and hope for the best.
Free apps might be enough to explore, but they don’t give you the full experience. Once you try premium—no ads, better controls, smoother playback—it’s tough to go back.
And if you’re still hunting for a solid IPTV provider that actually plays nice with these apps, BuyIPTVLive.com saved me from endless buffering and broken playlists. Might be worth a look
I Tried All Three — Here’s the Real Verdict
If you’re getting ready to install IPTV Downloader on Windows, the first roadblock is choosing the right app. I’ve been down that rabbit hole—Smarters, TiviMate, VLC… tried them all.
IPTV Smarters was where I started. Easy to install, free to use, and it picked up my M3U playlist right away. But once the ads kicked in, and a few channels refused to load properly, I realized it’s more of a starting point than a long-term solution.
Then I moved to TiviMate. It’s not free, but it doesn’t pretend to be. Honestly? It felt like going from budget airline to business class. Clean interface, barely any buffering, and everything just… worked. If you’re serious about streaming, it’s worth the small cost.
VLC? It’s fine. Great if all you need is basic playback. But don’t expect features like EPG, favorites, or a nice interface. Sometimes it’s the only player that opens a broken link, so I still keep it installed. Just don’t rely on it full-time.
The bottom line? If you’re still figuring out how to install IPTV Downloader on Windows and you’re just testing things out, Smarters or VLC will do. But for full-time use, TiviMate’s on another level.
Want a provider that actually makes this whole setup worth doing? Check this out — zero issues, straight playback, no nonsense.
Installing the App — Keep It Clean and Simple
Once you’ve picked your player, the next step is obvious: install IPTV Downloader on Windows and get everything running without surprises.
On Windows 10, it’s simple. Just run the .exe file, accept the license, but make sure to select “Custom Install.” That way, you skip all the junk apps these installers sometimes sneak in. Once it’s installed, give your system a reboot before launching.
Windows 11 is slightly pickier. Right-click the installer, “Run as Administrator,” let it choose the default path, and enable auto-start if you plan to stream regularly.
No matter the version, after you install IPTV Downloader on Windows, launch the app, head to settings, and enter your M3U or Xtream code credentials. Test a few channels, and if everything loads smoothly—you’re golden.
Don’t Skip This Part — Your Setup Might Be Slowing You Down
This one got me early on. I blamed the IPTV app, the provider, even my playlist… but the truth was simpler: I hadn’t prepared my system properly before trying to install IPTV Downloader on Windows.
My old laptop couldn’t handle it. Streams kept freezing, and video quality was all over the place. Turns out, even a great IPTV provider can’t save you if your device isn’t up to it.
Here’s the gear that finally gave me a stable experience:
- A dual-core CPU (i3 or better)
- At least 4 GB of RAM
- A wired Ethernet connection (Wi-Fi works, but Ethernet is smoother, Test here)
As for internet speed, don’t trust the ads. If you want HD to run clean, aim for 25 Mbps minimum. For 4K, you’re better off with 50+. I didn’t realize how much of a difference that makes until I upgraded and re-tested everything.
And yep, I ran the same apps again after the upgrade. This time, after I installed IPTV Downloader on Windows on a newer setup, everything ran like butter.
Minimum System Specifications

Downloading IPTV Apps the Right Way — Skip the Sketchy Stuff
Here’s the part nobody warns you about. You can have the fastest internet and the best playlist, but if you install IPTV Downloader on Windows using some random file from a shady blog… good luck. I’ve done it. Ended up nearly crashing my system with one of those “free modded” versions of an IPTV player. Never again.
So if you’re about to grab one of these apps, do it the smart way:
Always stick to official sites. IPTV Smarters? Only use smartersiptv.com. VLC? videolan.org—don’t even consider anything else. TiviMate? Yeah, it requires a login to access the download, and honestly, I like that. Shows they actually care who’s using their app.
Second rule: check for HTTPS in the URL. No padlock? Close the tab. You’re not downloading anything from a site that doesn’t encrypt its connection. That’s just asking for malware.
And before you run any installer—even from a trusted site—give it a quick scan with your antivirus. Doesn’t matter how tech-savvy you are; it only takes one bad file to mess everything up.
Once you install IPTV Downloader on Windows, don’t just rush through the setup either. Always go for the “Custom” option when installing. It helps you avoid extra junk (you know, those weird toolbars or bundled promo software you never asked for).
Launch the app, drop in your playlist, tweak the buffer and quality settings a bit, and give a few channels a test run. If anything feels off—glitches, weird lag—it could be your source, or maybe your PC needs a tune-up.
By the way, if you’re still trying to figure out what to test things with, this blog helped me avoid half the rookie mistakes I made early on. Worth bookmarking.
 Setting Up IPTV on Windows 11 with IPTV Smarters
To begin streaming IPTV on Windows 11, you first need to download the official IPTV Smarters installer. Avoid third-party websites to protect your device from malware or corrupted files.
Fine-Tuning Your Setup — This Is Where Things Get Good
You went through the trouble to install IPTV Downloader on Windows—don’t stop short now. Most people hit “install,” load a playlist, and think they’re done. But if you want buttery-smooth streaming instead of endless buffering? It’s the little tweaks that change everything.
When I first set up IPTV Smarters, it worked… but barely. Channels loaded, but there was lag, sometimes audio was out of sync, and the playlist felt clunky. That changed once I dove into the settings.
Here’s what I adjusted—and why it mattered:
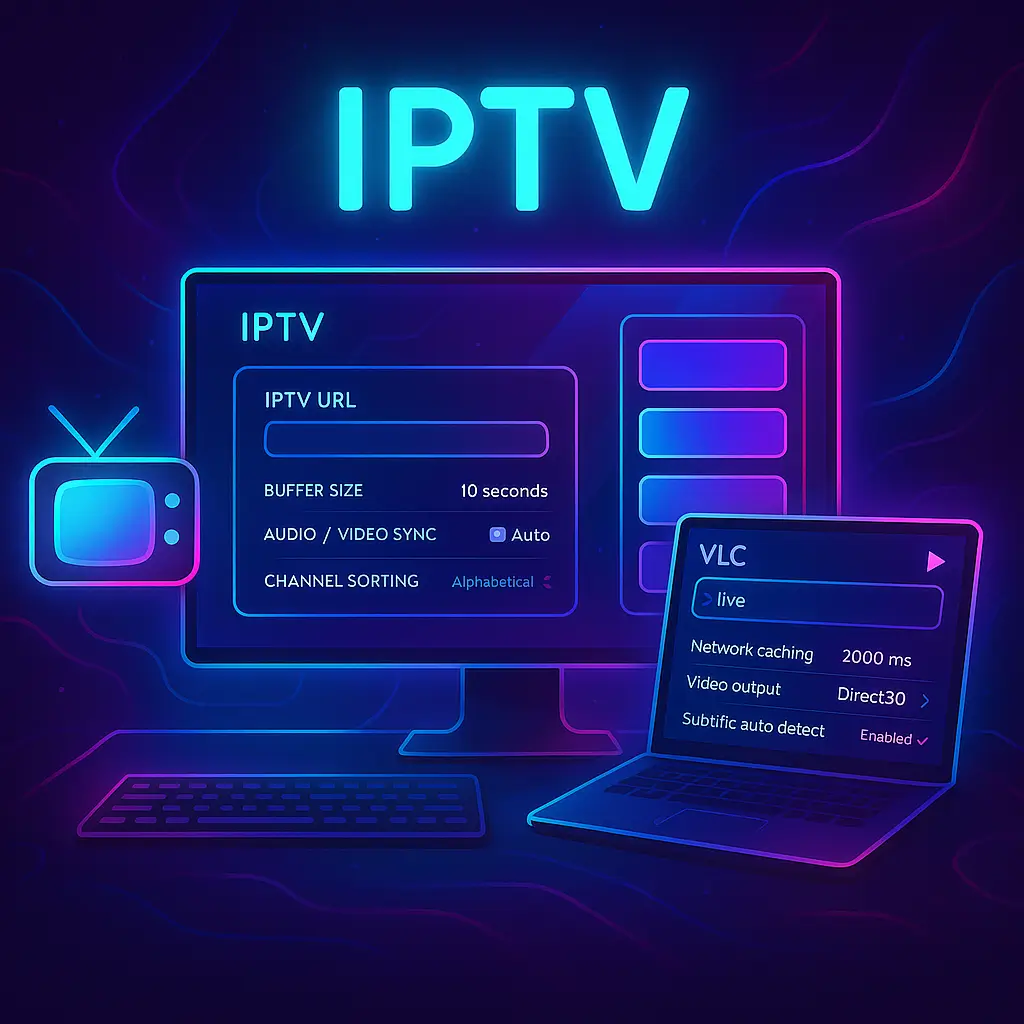
| Setting | Recommended Value | Why It Matters |
|---|---|---|
| Network Buffer | 2000–5000 ms | Reduces random buffering on weak connections |
| Resolution Limit | Match your display | Keeps CPU/GPU from overheating |
| Playlist Refresh | Every 12 hours | Updates your channel list automatically |
After that? Everything clicked. Streams loaded instantly, channels stayed synced, and even the menu navigation felt faster. I ran all of this after I decided to install IPTV Downloader on Windows properly and take the time to configure it.
If you’re on Windows 11, don’t forget to toggle hardware acceleration—it helped a ton with smoother video output on my end.
Before You Click Play — Let’s Talk Security (And the Law)
If you’re planning to install IPTV Downloader on Windows and haven’t thought about security or legality yet, stop right there. One wrong move—like downloading from a sketchy site or streaming a pirated feed—can ruin the whole experience. I’ve seen people lose access, get their connections throttled, or worse.
So yeah, this part matters.
How to Stay Safe While Streaming on Windows
You don’t need to be a cybersecurity expert to stay safe—just follow a few simple habits:
- Keep your antivirus running and updated
- Only install IPTV Downloader on Windows apps from official sites
- Never click on links shared in Telegram groups, YouTube comments, or shady Reddit threads
- If your app or provider supports 2FA, turn it on. It helps—big time.
Once I started doing these things, even the stream quality improved. Fewer freezes, faster load times, and peace of mind that I wasn’t opening the door to malware or legal headaches.
What’s Legal (And What’ll Get You in Trouble)
Let’s not pretend all IPTV is created equal. There are legit services, and then there are piracy farms disguised as “free trials.”
Here’s the line between what’s safe and what can get you flagged:
| ✅ What’s Legal | ❌ What’s Illegal |
|---|---|
| Subscribing to verified services | Using cracked or stolen M3U links |
| Personal streaming only | Sharing access publicly or reselling illegally |
| Watching licensed content | Pirated movies, sports, or pay-per-view feeds |
In some places like California and New York, copyright enforcement is serious. Fines, device seizures, even service blacklisting happen more often than you’d think. If you’re unsure—play it safe.
Need a verified starting point? I’ve had zero issues with this IPTV service. Stable, legal, and no drama.
Real-World FAQ (Straight Talk)
Q: Can I install IPTV Downloader on Windows 11?
Yes, it works great. Just make sure your system meets the minimum requirements and you download from a clean source.
Q: Do I need a VPN?
If you value privacy and smooth access, then yes. VPNs help bypass blocks and secure your data.
Q: Are free IPTV apps safe?
Some are, some aren’t. Always verify they support licensed content and come from trusted developers.
Q: Why is my stream lagging?
Could be your internet, your playlist, or your device. Start by lowering the resolution and closing background apps.
Q: What’s the biggest mistake beginners make?
Rushing setup, using illegal playlists, or installing from shady sites. Don’t cut corners—it’s not worth it.
Final Thoughts — Don’t Rush It
At the end of the day, it’s easy to install IPTV Downloader on Windows. What’s hard is doing it right. But if you’ve followed all the steps—chosen a reliable app, cleaned your system, found a legal stream—you’re already ahead of most users.
Take your time. Protect your setup. And most importantly—stream responsibly. If you’re still searching for a service that ticks all the boxes, head over to BuyIPTVLive and see what fits. That’s where I found mine.
🛑 DMCA Disclaimer
This article is for educational purposes only. We do not host, promote, or distribute copyrighted content. All IPTV services mentioned are assumed to be legal unless proven otherwise. It is your responsibility to comply with local laws and content regulations